I keep chugging along, messing with World Eaters models, but as it turns out, several little things can make for a rather sizeable post when combined, so let’s take a look at what I am currently up to:
I. Number Nine
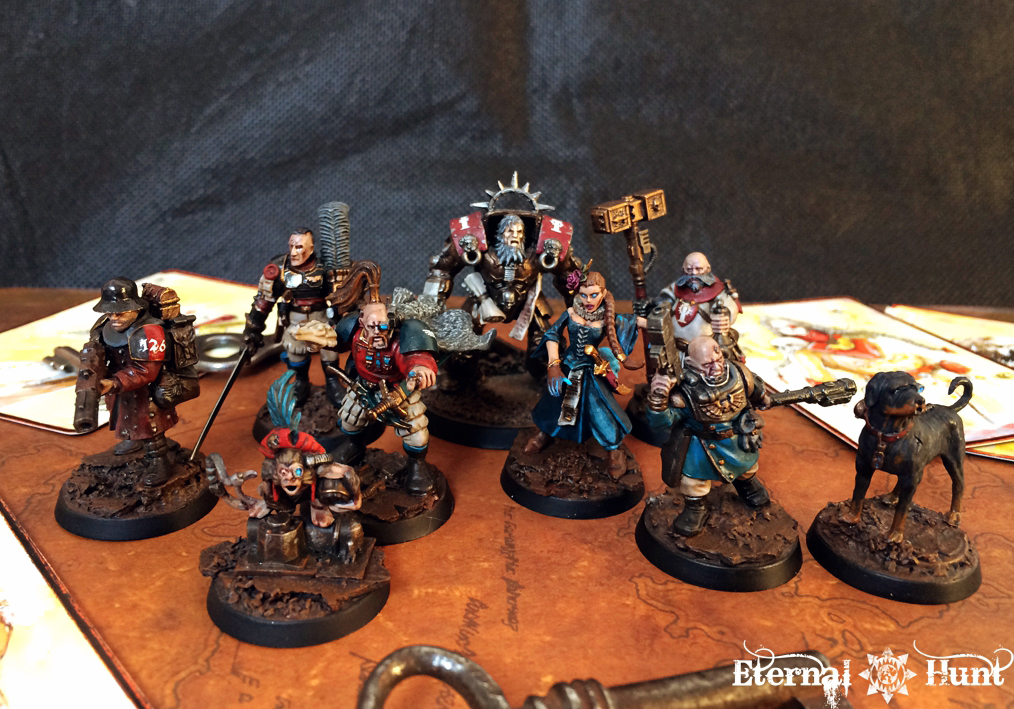
First up, I have managed to paint the ninth model for my “Hateful Eight” project — and you don’t need to be a maths wizard to realise that this probably marks the beginning of another squad of eight 😉
While my original plan was to focus on the two heavy weapon-wielding legionaries next,…

…another model actually managed to jump the queue. Take a look:

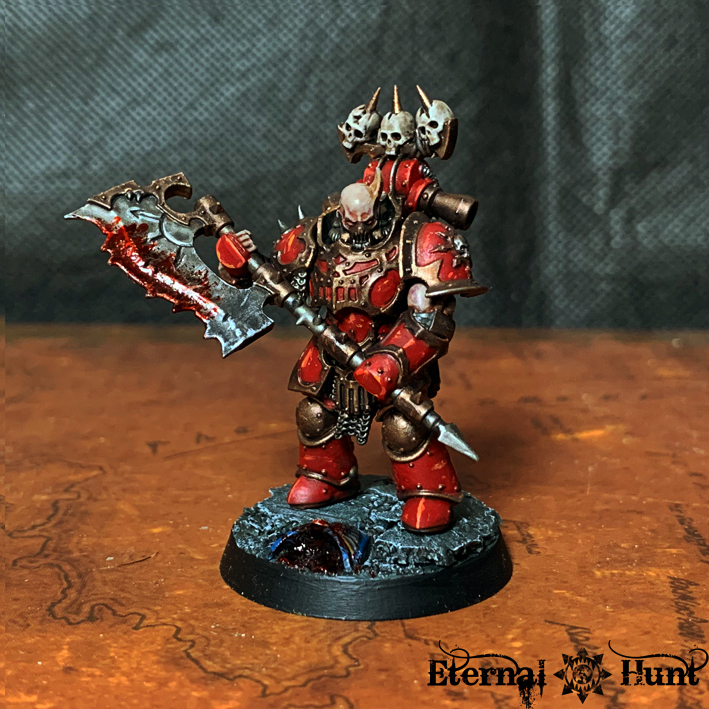
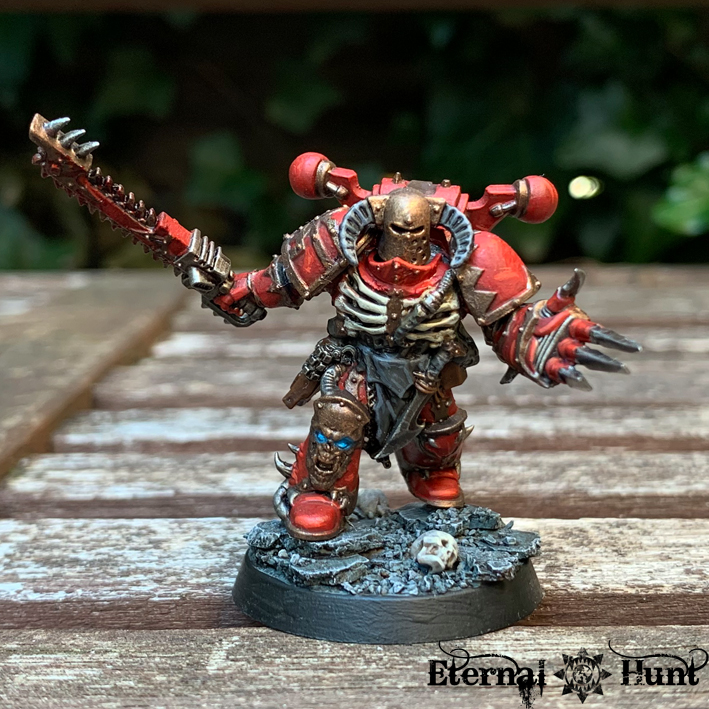
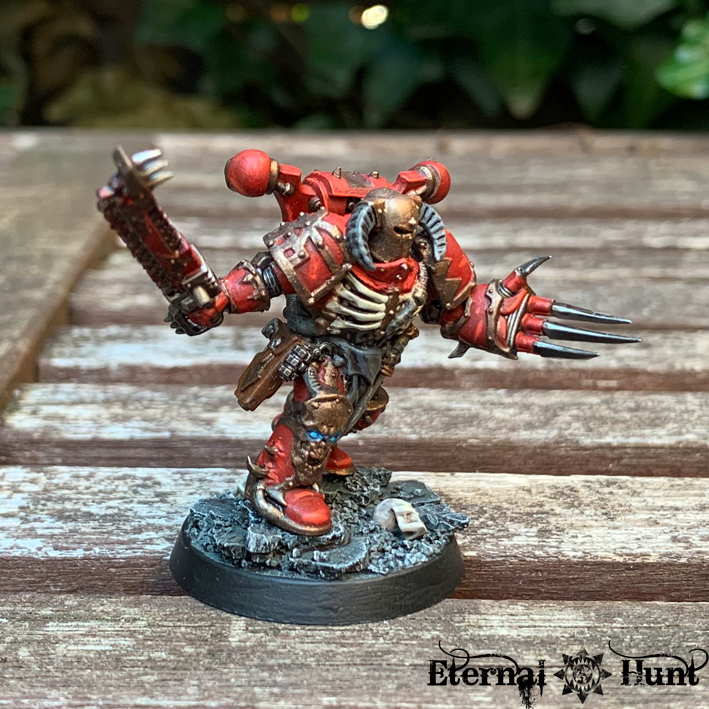
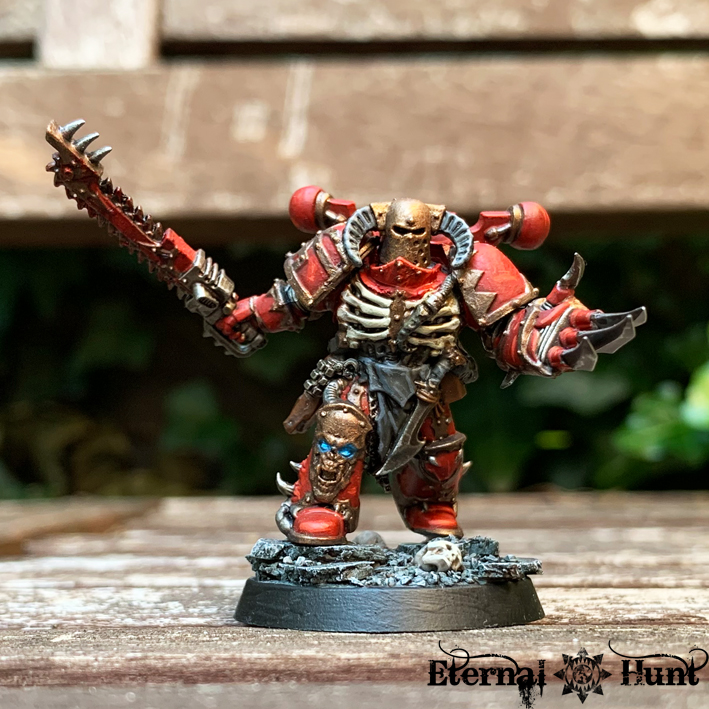
Another older conversion, this one, originally converted all the way back in 2014. The model may be a bit rough around the edges, and also slightly shorter than some of the other squad members, but having waited so long on my pile of shame, the poor guy definitely deserved his day in the limelight.
The blunt, brutal look of the helmet was a visual touch I really wanted to incorporate into this project, and the pose is obviously at the halfway mark between “Come at me, bro!” and “Are you not entertained?”, which seems like a pretty good match for a World Eater 😉
This model may, admittedly, not be the star of the show, but he still looks cool with the rest of the guys — and he’s too customised to just read as a vanilla grunt, in any case. I am weirdly fond of him, to be honest, and it definitely feels good to finally have painted this piece. Here are some more pictures:


II. World Eaters painting tutorial
Speaking of World Eaters, since several people wanted to know about the tweaked recipe I have been using for these last models, let me take this opportunity to share it with you, lest I end up putting if off even longer. I have been sitting on this for a while, so the photos are actually of a previous model, but they should still work well enough for a tutorial.
So here goes, my current and – hopefully – improved recipe for painting World Eaters in nine-and-a-half pretty easy steps:
Step 1: Undercoating

I use GW Leadbelcher spray paint to undercoat my World Eaters, which might seem a little strange to you — I’ll admit it’s a little quirk of this particular recipe, and one that probably originated in the fact that the first models I painted using this new approach, especially Argus the Brazen, had some rather large metallic areas.
I’ve stuck with the Leadbelcher undercoat, though, because it actually has a number of advantages:
- some of the parts you actually may want to be silver on the finished models, such as the chainmail or the flex fitting in the armour gaps, are usually one of the deepest layers of the sculpt. So they can be hard to reach with a brush if you want to block them in. Plus they really do end up looking more convincing if you paint the rest of the armour “on top of them”, as it were.
- the silver is a pretty bright undercoat, so it works rather well for a paintjob that’s predominantly based on different red tones. It would probably be even more useful when painting Word Bearers, because you wouldn’t even need to paint the armour trim in another colour.
When the undercoat has dried, the areas I want to stay silver on the finished model (the aforementioned parts as well as the knives, weapon blades or some of the spikes, get a healthy dose of Army Painter Dark Tone wash at this point to shade them.
Step 2: All of the red armour plates are now blocked in using GW Mephiston Red: There’s absolutely no need to be too careful at this point — just try to keep the red off the already shaded, silver areas mentioned above.

Step 3: The bronze/brass areas (mostly the armour trim) are picked out in a 60:40 mix of Vallejo Tinny Tin and Vallejo Brassy Brass.
Also, if there are any areas of bare skin or bone on the model, these are picked out using GW Rakarth Flesh. For the skin, this creates a pale, caucasian skin tone, so if you are looking for a different colour, you may need to change the recipe accordingly (for instance, I have found GW Doombull Brown to be an excellent base colour for dark skin). Experiment a bit with this! The World Eaters are described as an ethnically diverse legion in the fluff, so this is a great opportunity to experiment with a number of skin tones!

Step 4: The grey and brown parts are painted using GW Skavenblight Dinge and GW Mournfang Brown, respectively.
Step 5: The red areas are washed with GW Seraphim Sepia, and the bronze areas receive a generous wash of Army Painter Strong Tone:
Step 6: I then higlight the armour trim, using pure Vallejo Brassy Brass and, if the model needs a little extra pop, Vallejo Bright Bronze — careful with the latter, though! It is really bright. I mostly try to stick to just using Brassy Brass, unless I want some areas of the model to really catch the light.

Step 7: At this point, the red areas may require some cleanup, so I go back with the original Mephiston Red here and there. This is also a good way of laying the foundation for the coming highlights, so you may want to hit some of the ridges and elevated areas with a touch of Mephiston Red as well.
This is also the time to wash the skin and bone areas. I use GW Ogryn Flesh, which is now OOP, but I still have some left. GW Reikland Fleshshade should really work just as well. The bone areas are washed with Vallejo Strong Tone.

Step 8: Here’s the really crucial step that will make sure the red has a lot more depth: I use progressively lighter red and orange tones to paint scratches onto the armour and add some edge highlights on the most prominent areas. I start with GW Evil Sunz Scarlet (which isn’t all that noticeable in the photos below)…
…then use GW Wild Rider Red, making sure to paint a smaller higlight than the one that came before,…
…and then finally create a last, very small, higlight/scratch with GW Fire Dragon Bright. You can see the finished effect below.
Step 9: This is also the time to add the highlights to all of the silver, grey and brown areas, using lighter tones of the respective colours. I use GW Mythril Silver for the metal (now OOP as well; GW Stormhost Silver should be an excellent replacement), a mix of GW Skavenblight Dinge and white for the grey areas (GW Stormvermin Fur works as a straight-from-the-pot solution, although it has a slightly brownish tinge. GW Dawnstone also works) and a mix of GW Mournfang Brown and GW Steel Legion Drab for the brown leather. Oh, and I use some fine highlights with the original GW Rakarth Flesh to add more definition to the areas of skin, particularly the face, at this point.

And that just about covers everything, I guess. You can still add some glossy blood effect (GW Blood for the Blood God or Tamiya Clear Red) to either the weapon and/or the armour at this point, if you are that way inclined — just make sure not to go overboard! And try to create a mix of darker, more clotted blood (by mixing some brown or black wash into the blood effect) and fresh, bright red blood (by adding some pure blood effect on top or around the edges of the darker patches). A blood effect can quickly overwhelm the miniature, though — even on a follower of Khorne. So take it slowly!
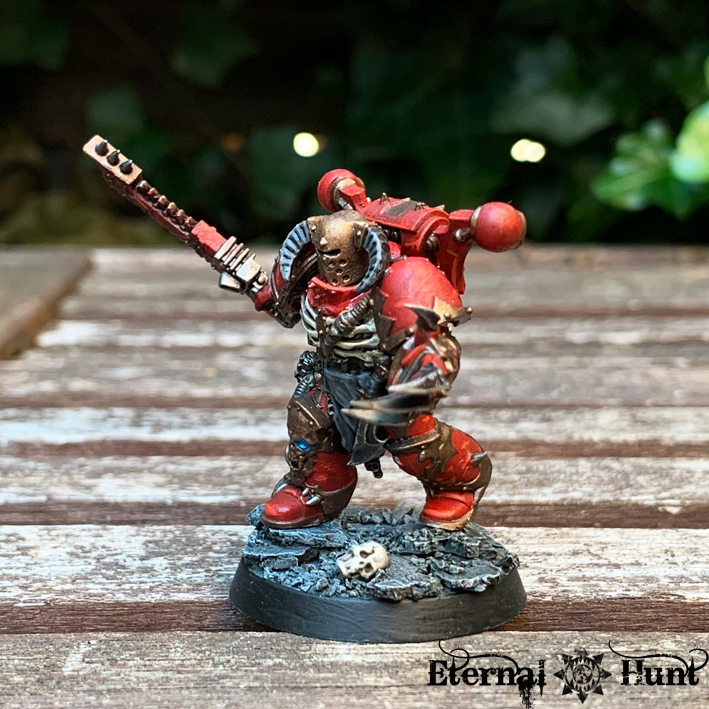
And here’s a look at the finished model, painted using this recipe:

I hope you’ll find this helpful when painting your own, bloodthirsty madmen! The recipe is still a work-in-progress in that I think it could possibly be improved (still not entirely happy with the bronze part, for example), but it’s as close as I have come yet to figuring out an ideal recipe for painting World Eaters without going crazy during the process 😉
III. Next up on the chopping block…
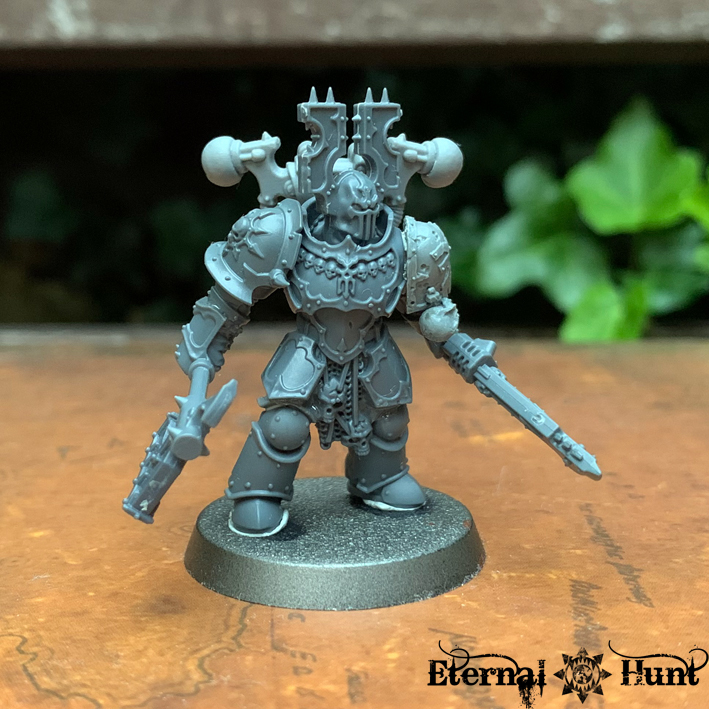
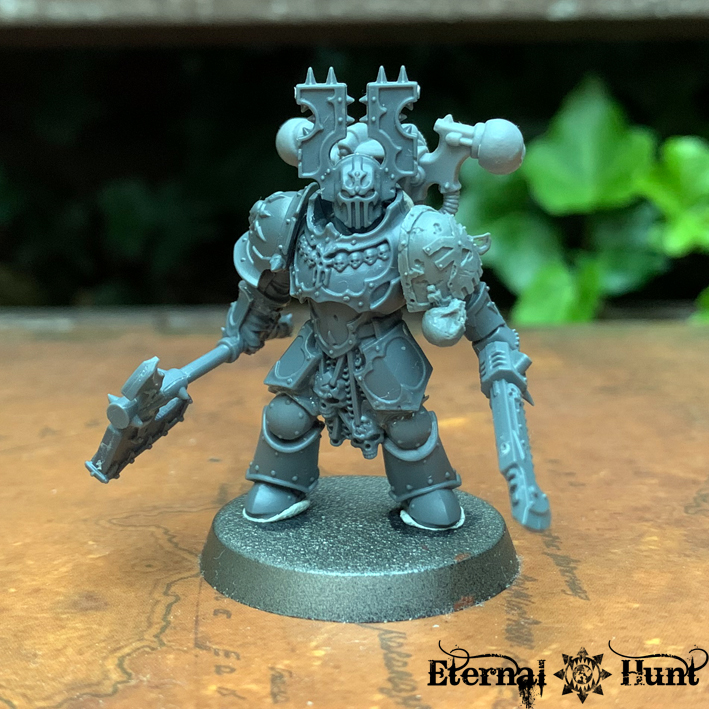
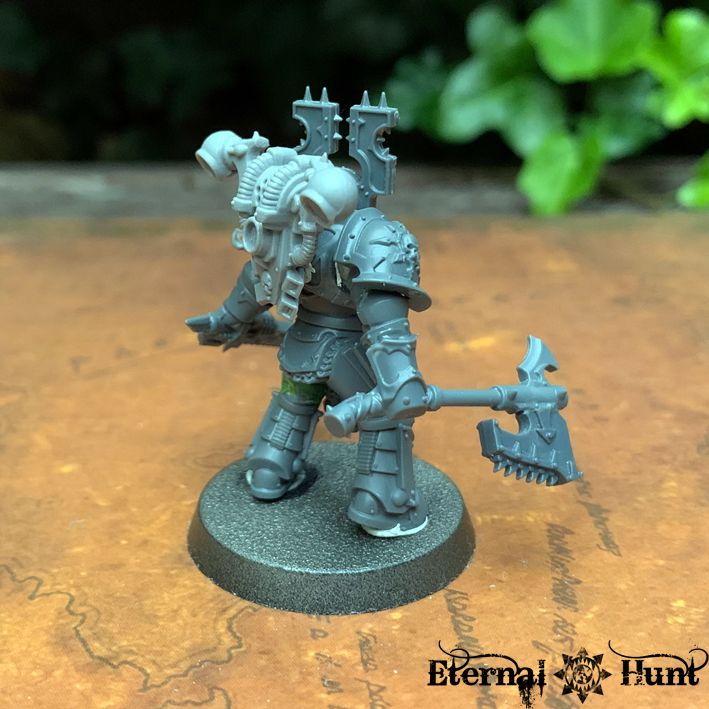
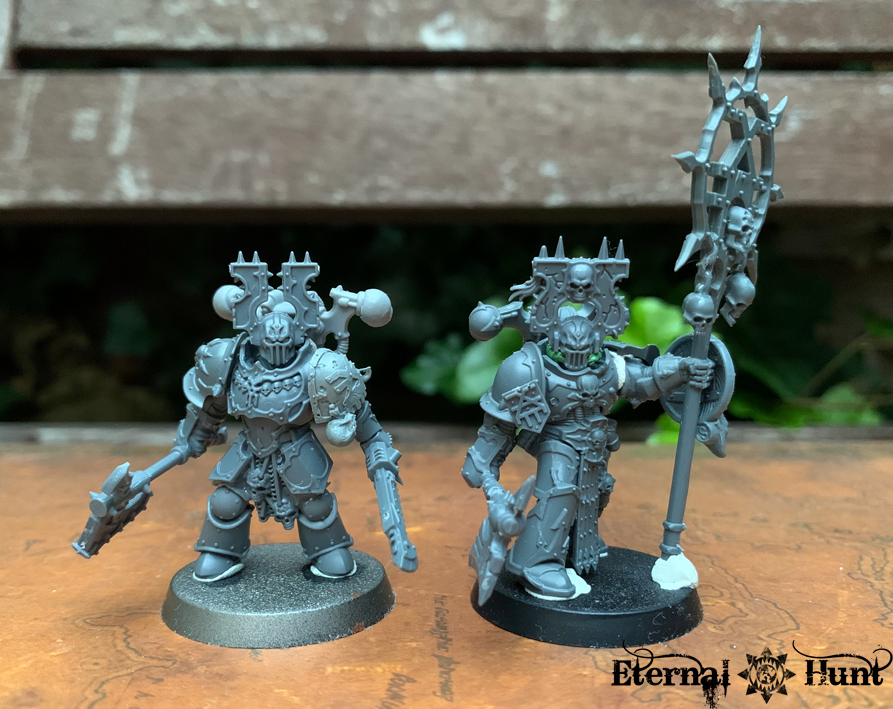
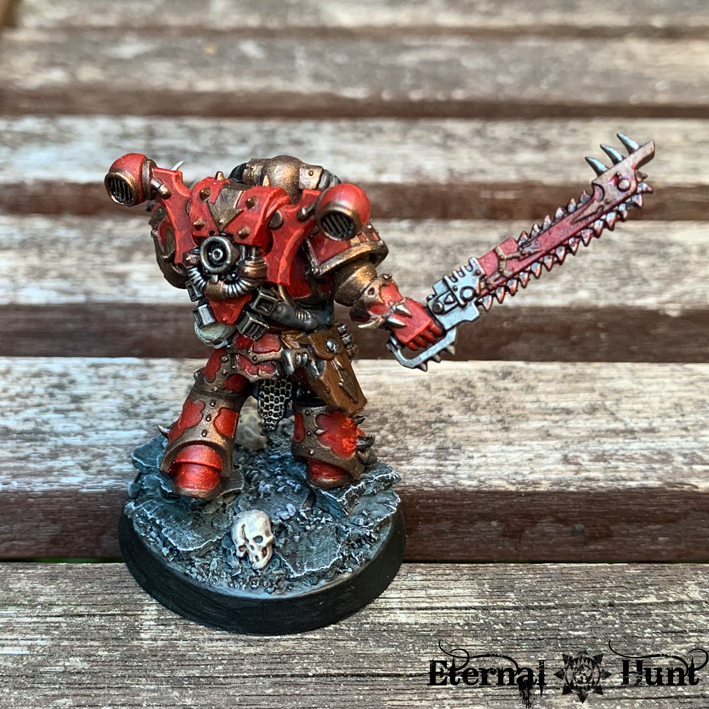
Before we wind up this post, I do of course have another kitbash to share with you: I noticed how virtually none of my recent World Eaters conversions were wielding actual chainaxes, so I created this guy:


He still needs a bit of fine tuning and some additional gear, but I am pretty happy with the model. As you can probably see from the pictures, it’s basically another AoS Blood Warriors/plastic Mk. III/vanilla CSM hybrid.
Here he is, next to the icon bearer from my previous post:

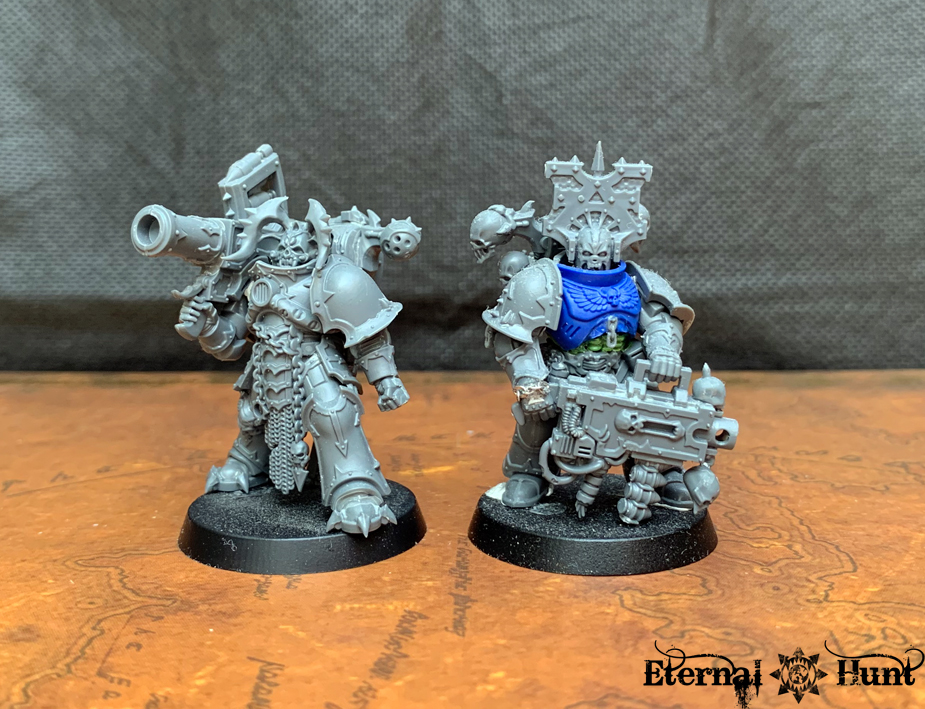
And here’s what the second squad of modernised may look like:

The roster is still likely to change, of course — for instance, those Havocs technically aren’t even allowed, and even if I ignore that fact, I would probably want to put one of them in each of the squads. But hey, I am slowly hammering out what a second squad might look like, so bear with me 😉
And with that, we have come to the end of today’s update! It goes without saying that I would love to hear your thoughts and feedback, so drop me a comment!
And, as always, thanks for looking and stay tuned for more!


")
")
")
")


")
")
")
")